Break In Your Stove
Break-In Procedure
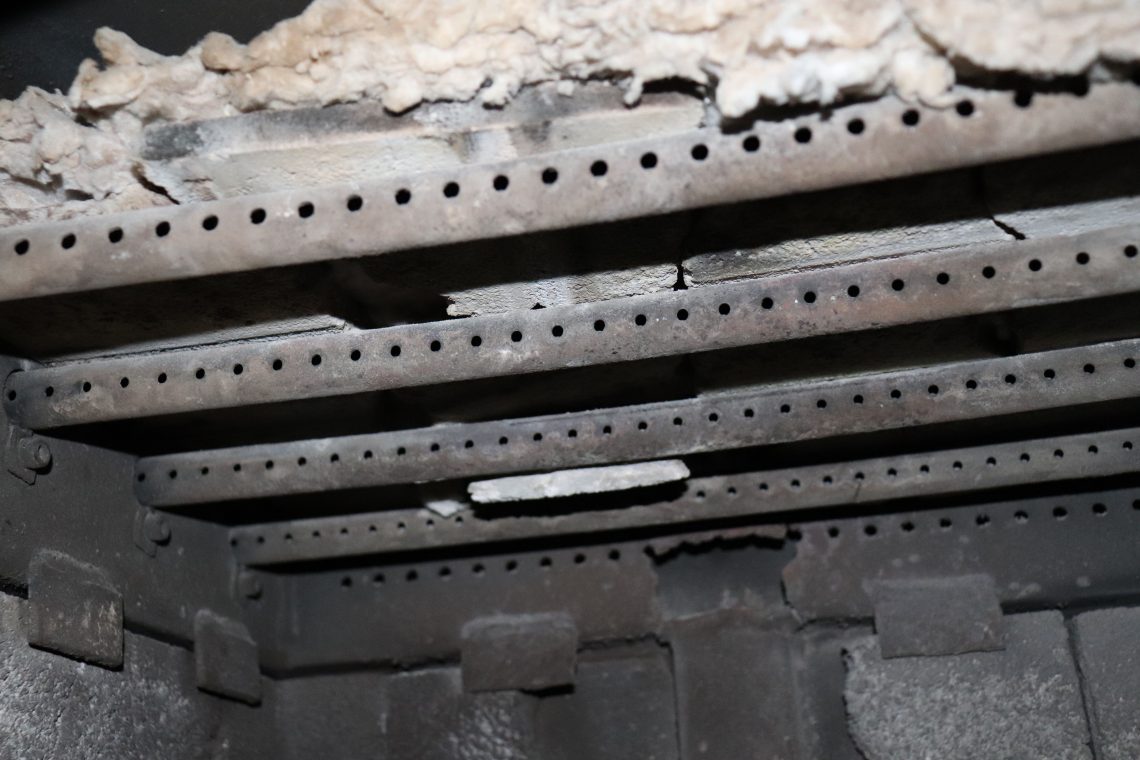
This has come from the Jøtul F 45 manual but it applies to ALL new stoves. I’ve seen quite a lot of damage on models from Pacific Energy, Hearthstone and Quadra Fire and it’s all stems back to the first few days of use. Some of these units are completely beyond repair, inefficient and unsafe to use.
“The Jotel is constructed of welded, 3/16” steel plate, it also incorporates cast iron components. This material requires the stove to be“broken-in” gradually
so that heat expansion does not occur too quickly and cause damage. The following steps describe the proper break-in procedure for your stove. Use a magnetic stove- top thermometer to monitor stove temperature, placed directly on the cook plate.
Set the Primary Air Shutter fully open, all the way to the right.
- Light a small fire of newspaper and kindling at the
front of the stove. Gradually add small pieces of wood, but only allow the stove to reach a maximum surface temperature of 200°F (93° C). Continue burning at this low rate for approximately 1 hour. - Allow the stove to cool to room temperature.
- Light a second fire, allowing the stove to reach a
maximum temperature of 300°F (149°C) for 1 hour. - Cool the stove to room temperature.
- Light a third fire and gradually allow the stove to reach
a surface temperature of 400°F (204°C) - Cool the stove to room temperature. This completes the
“break-in” procedure.
Note: If the temperature exceeds the limit during any break-in fire, move the Air Shutter all the way to the left to shut off the air supply completely. It is normal that the stovetop temperature will continue to climb until the fuel burns down somewhat. Once the fire is out and the stove has cooled to room temperature, continue the break-in procedure. Never attempt to reduce the temperature by removing burning logs from the fire.”

What are signs to look when you are over fire a stove?
A great Q&A site:
https://www.hearth.com/talk/threads/over-fire-a-free-standing-wood-stove.77806/
Answer 1: Anything over the stove’s recommended top temp is an over fire. Having it happen occasionally, and briefly, is nothing to worry about. It happens to all of us. Consistently burning the hell out of the stove to the point that it is over firing will cause damage. Including, but not limited to; cracks, warps, discoloration, etc.
Answer 2: During or after? If the things glowing, its a bad thing. If it warps, its a bad thing. If there are weld seams, shine a flashlight from the inside to see if the seams cracked thru. When the stoves cold. Stovetop thermo is your best friend. If the needle is buried, its a bad thing. Most stoves though can take some pretty high temps though. Mine has seen 750 on a few occasions when i wasnt paying attention, no harm done, although it was a bit unnerving the first time.
And more on operation of a woodstove again I quote the Jotel Manual but it applies to all operators!
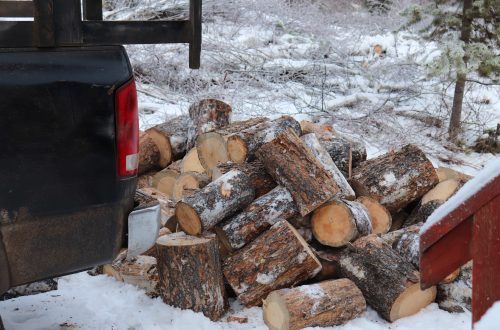
Higher efficiencies and lower emissions generally result when burning air-dried, seasoned hardwoods, as opposed to softwoods, green or freshly cut hardwoods. Wood that has been air-dried for a period of 6 to 14 months will provide the cleanest, most efficient heat. Wood seasoned more than 2 years will burn too quickly to take advantage of the stove’s low end efficiency strength.
A seasoned log will have check marks on the ends and be lighter than an unseasoned log which will show little or no check marks.
We recommend using a moisture meter to determine
the moisture content of your wood. For purposes of home heating, your fuel should have a moisture content between 12 – 20%. Wood with higher moisture content will burn, however, very inefficiently. Most of its heat value will be lost to driving water out of the wood. Worse, that moisture will condense as creosote in the relatively cool chimney flue, increasing the potential for a chimney fire. Use of unseasoned wood defeats the purpose of any modern wood-burning stove.
DO NOT BURN:
• Coal;
• Garbage;
• Synthetic fuel or logs;
• Material containg rubber, including tires; • Material containing plastics;
• Waste petroleum products, asphalt products, paints, paint thinners or solvents;
• Materials containing asbestos;
• Construction or demolitioin debris;
• Railroad ties or pressure-treated wood;
• Manure or animal remains;
• Salt water driftwood or other previously salt-water;
saturated materials;
• Unseasoned wood; or
• Paper products, cardboard, plywood, or particle board. (The prohibition against burning these materials does not prohibit the use of fire starters made from paper, cardboard, saw dust, wax or similar substances for the purpose of starting a fire.)
The burning of any of these materials can result in the release of toxic fumes, or render the heater ineffective and cause smoke. Never use gasoline, gasoline-type lantern fuel, kerosene, charcoal lighter fluid, or similar liquids to start or “freshen-up” the fire. Always keep such liquids away from the heater at all times.
Burn only solid wood directly on the bottom of the stove firechamber. Do not elevate the fire in any way.
Traditional Fire Building
- With the primary air control lever in the full open position (to the right), start with several sheets
of crumbled newspaper placed directly on the grate. On top of the newspaper, place several pieces of small dry kindling (approx. 1” in diameter) with two to three larger logs (approx. 3” to 5” in diameter) on top. - Light the fire and close the door, slowly building the fire by adding larger and larger logs. Be sure to follow the break-in procedure before creating a hot fire that might damage the stove.
- Once the stove has reached a surface temperature range of between 400° and 600°, (204°C -316°C), adjust the primary air control lever as necessary to generate the heat output and burn time desired.
Top-Down Fire Building – See fig. 17.
Many people find this method to be superior to the traditional method. - With the primary air control lever in the full open position (to the right), place two short 1/4-split logs on the firebox floor, perpendicular to the rear wall, about 6 inches apart.
- Place kindling across the base logs.
- Place one or two smaller logs on top of the kindling.
- Place newspaper between the two bottom logs under the kindling. Light the news paper and close the door. Continue to add kindling and small logs as necessary to build the fire. Keep the air control fully open until the fire is well-established.
Figure 17. Top-down fire starting structure.
Break-in Odors: It is normal for a newly-painted stove to emit odor and smoke during the first few fires, and these may set off smoke alarms. This condition is caused by curing of the high temperature paint and will diminish with each subsequent fire. It is advisable to open windows or doors to provide plenty of fresh air and cross- ventilation during the break-in period.

